
As you may know, overalls are trendy now. And, fortunately, I already own a pair. Unfortunately, they are actually meant for use as overalls, therefore, they are not figure flattering. So, how should I solve this problem? Cutting them into shorts, of course! Worst case scenario, they still are not figure flattering, but I can wear them all summer and it does not matter since I do not see many people (unless I plan on going to the psychology lab to work on my thesis or need to run errands, in that case, I can just change).
So, let's get started. First, I went to Google and, for curiosity's sake, I looked up cutting jeans into shorts and there were about 17.8 million results (in .36 seconds). On the other hand, cutting overalls into shorts has 1/10th as many results. Obviously, the internet needs one more (namely, mine).
Now that we have used Google, we can really start. This new first step is to take awkward video of yourself modeling the overalls and then take screenshots for your blog so everyone can see the "before" look. Lovely.
.png) |
| They are not flattering on me (if you can rock long ovies, more power to you.) |
Now, you need to figure out where to cut. I would recommend trying on your overalls over a pair of shorts that you already like the length for and can figure out how they should line up on your overalls for cutting later (if you can, I tried and failed). Originally, because my shorts are high-waisted, I lined mine up to the waist rather than the hips. However, I wanted to roll up my short overalls, so I pulled my shorts lower so I had enough room to cuff the diy. Remember, you can always cut more off later, you cannot put more back on (at least easily).
 |
| Here I have my overalls lined up with my shorts so I know where to cut them. |
 |
| Up close and personal. |
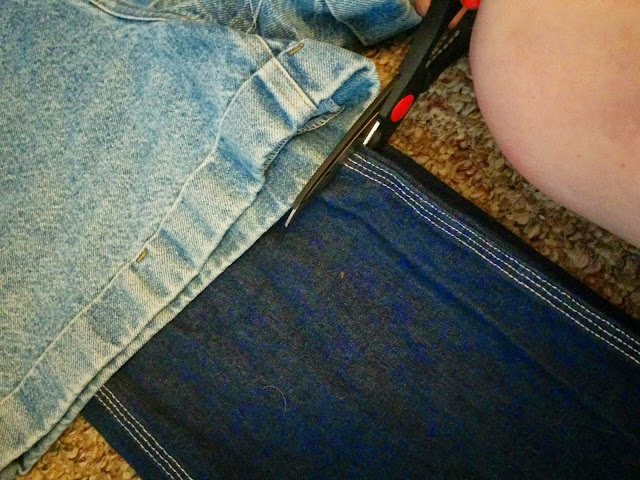
Cutting the overalls is the next step. Some people recommend cutting through both legs at once. That is a good time saver, except that makes it easier to mess up the project. Plus, if you cut one leg first, you can check the length to see if it needs to be any shorter. And once you approve of the length, you can cut the other leg in the first go.
 |
| One leg down, one to go. If you are confident in the length, go ahead and cut the other leg. Just follow along the cut for the other leg so both legs are the same length! |
 |
| Here is the length after the first cut (before making it into a cuff). I considered going a little shorter, but that would require me ruining a nifty little side pocket. |
Want to know how it turned out looking when worn? Well, tune in tomorrow to check out what the final product looks on!
Rachel Cathleen
P.S.- Let's be honest, I probably forgot to mention some really important step. If so, feel free to comment below or email me and we can figure out the critical missing instructions.
.png)

No comments:
Post a Comment